레이캐스트(Raycast)를 사용해서 충돌 처리하기
레이캐스트는 광선(Ray)을 쏘는 것을 의미하고 광선(Ray)에
부딪히는 오브젝트(Collider)가 있을 때, 이 오브젝트에 대한 거리, 위치 등의 정보를 반환 해준다.

레이캐스트를 사용하는 방법은 다양한데 원하는 속성을 매개변수에 맞게 넣어주면 된다.
Physics.Raycast(Vector3 origin, Vector3 direction, out RaycastHit hitInfo
, float maxDistance, int layerMask, QueryTriggerInteraction queryTriggerInteraction)
Origin(시작점)에서 Direction 방향으로 레이(Ray)를 쏠때 오브젝트와 부딛혔을 경우,
True를 반환하고 RaycastHit으로 충돌정보 오브젝트와의 위치,거리 정보를 넘겨준다.
maxDistance 는 Ray 최대거리의 값을 의미하고 거리안에 들어오지 않는 오브젝트는 충돌 하지 않는다.
layerMask는 해당 Layer값을 가진 오브젝트만 충돌처리를 하겠다는 의미를 가진다.
Layer 설정하기


오브젝트 하나를 선택하면 오브젝트의 레이어를 선택하거나
Add Layer를 눌러 새로운 레이어를 생성 할수 있다.
QueryTriggerInteraction 는 트리거와 충돌을 할지 안할지를 결정하는 속성으로
UseGlobal / Ignore / Collide 3가지가 존재한다.
캐릭터에 Raycast(레이캐스트) 적용하기
레이(Ray)가 오브젝트와 충돌 했을 때 True를 반환 하기 때문에
오브젝트와 충돌하지 않았을 때 캐릭터가 이동하게 하려면 bool canMove 안에 레이캐스트가 False 일때
캐릭터가 움직이도록 다음과 같이 스크립트를 넣어주면 된다.
private void Update()
    {

		Vector3 moveDir = new Vector3(inputVector.x, 0, inputVector.y);
        float playerSize = 0.8f;

		bool canMove = !Physics.Raycast(transform.position, moveDir, playerSize);
        Debug.Log(canMove);
        if (canMove)
        {
            transform.position += moveDir * moveSpeed * Time.deltaTime;
        }
     }
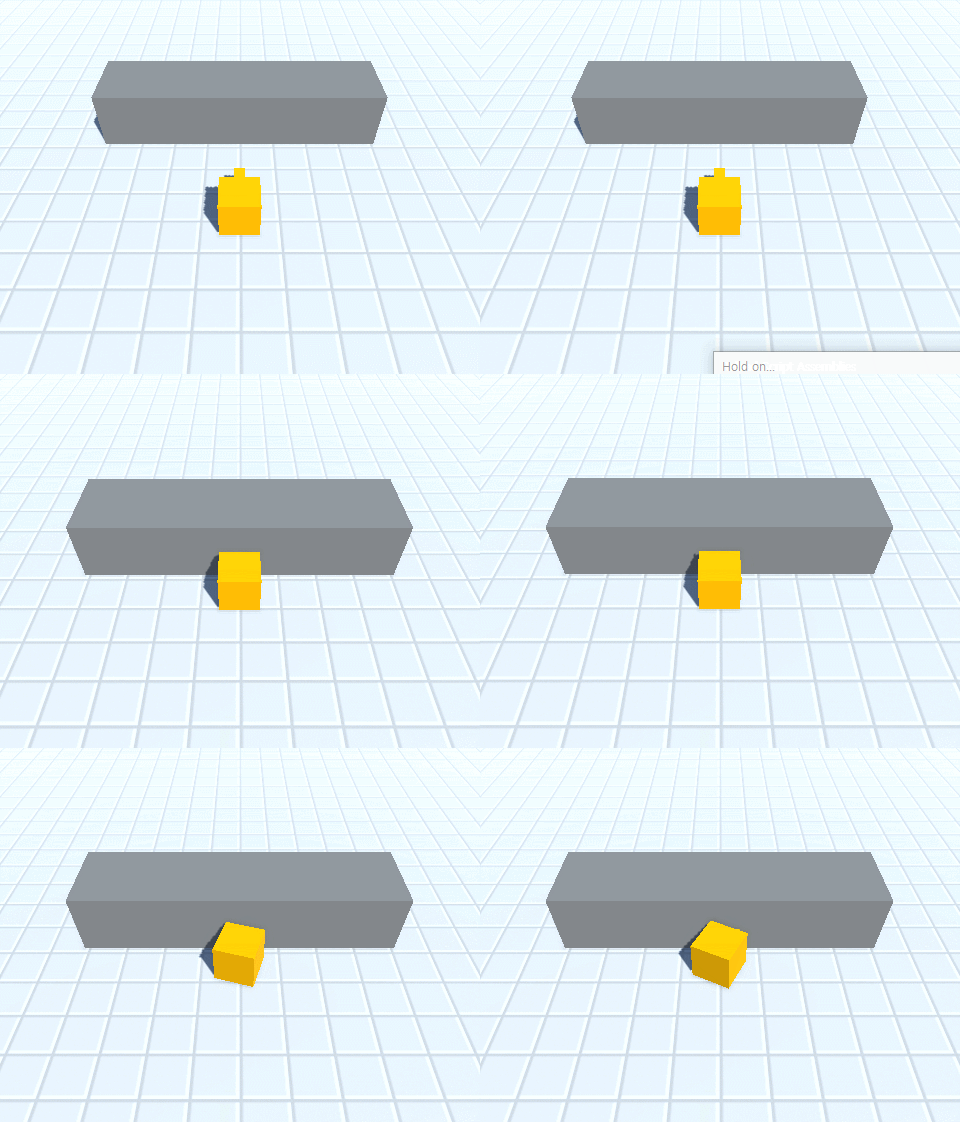
레이캐스트(Raycast)는 얇은 레이저라서 레이(Ray)가 중앙에 오지 않으면 플레이어가 상자를 뚫고 지나 간다.


이럴때 사용하기 위해서 Cast의 모양을 광선이 아닌 박스/캡슐 모양으로 정해 줄 수도 있다.

Capsulcast를 예로 들어 적용하려면 캡슐의 위 아래 두 지점과 캡슐의 지름을 작성 해주어야한다.

 float playerSize = 1f;
float playerHeight = 2f;
bool canMove =
!Physics.CapsuleCast(transform.position,transform.position+Vector3.up* playerHeight, playerSize, moveDir, playerSize);

첫 번째 메소드(Vector3 point1)은 캡슐의 바닥 위치, 두 번째 메소드(Vector3 point2)는 캡슐의 머리 높이라고 생각하면된다.
Vector3 point1 = transform.position 현재 플레이어의 위치를 받고 Vector3 point2= transform.position+Vector3.up* playerHeight 는 플레이어의 현재 위치에서 Height를 정해줬다고 생각하면된다.
마지막으로 float radius 값을 주어 캡슐의 지름 사이즈를 정해준다.
그럼 플레이어가 캡슐만큼의 레이어를 가지고 오브젝트를 통과하지 않는 것을 볼 수 있다.
(추가)직진(Z축)하고 있을때 좌우(X축)로 이동 가능하게하기


위 스크립트대로 작업하면 벽에 부딪힌 상태로 좌우 이동을하면 이동하지 않고 회전만 하는것을 알 수 있다.
이 문제를 해결하기 위해서 다음과 같이 스크립트를 추가 해주었다.
   if (!canMove)
        {
            Vector3 moveDirX = new Vector3(moveDir.x, 0, 0).normalized;
            canMove= !Physics.CapsuleCast(transform.position, transform.position + Vector3.up * playerHeight, playerRadius, moveDirX, moveDistance);
            if (canMove)
            {
                moveDir = moveDirX;
            }
            else
            {
                Vector3 moveDirZ = new Vector3(0, 0, moveDir.z).normalized;
                canMove = !Physics.CapsuleCast(transform.position, transform.position + Vector3.up * playerHeight, playerRadius, moveDirZ, moveDistance);
                if (canMove)
                {
                    moveDir = moveDirZ;
                }
            }
        }
[전체 코드]
private void Update()
{
Vector2 inputVector = gameInput.GetMovementVectorNormalized();
Vector3 moveDir = new Vector3(inputVector.x, 0, inputVector.y);
float moveDistance = moveSpeed * Time.deltaTime;
float playerHeight = 2f;
float playerRadius = .7f;
bool canMove = !Physics.CapsuleCast(transform.position,transform.position+Vector3.up* playerHeight, playerRadius, moveDir, moveDistance);
Debug.Log(canMove);
if (!canMove)
{
Vector3 moveDirX = new Vector3(moveDir.x, 0, 0).normalized;
canMove= !Physics.CapsuleCast(transform.position, transform.position + Vector3.up * playerHeight, playerRadius, moveDirX, moveDistance);
if (canMove)
{
moveDir = moveDirX;
}
else
{
Vector3 moveDirZ = new Vector3(0, 0, moveDir.z).normalized;
canMove = !Physics.CapsuleCast(transform.position, transform.position + Vector3.up * playerHeight, playerRadius, moveDirZ, moveDistance);
if (canMove)
{
moveDir = moveDirZ;
}
}
}
if (canMove)
{
transform.position += moveDir* moveDistance;
}
Debug.DrawRay(transform.position, transform.position + Vector3.forward * playerHeight, UnityEngine.Color.red);
isWalking = moveDir != Vector3.zero;
//보는 방향으로 Time.deltaTime 만큼 회전하면서 부드럽게 돌아감
float roateSpeed = 5f;
transform.forward = Vector3.Slerp(transform.forward, moveDir,Time.deltaTime* roateSpeed);
Debug.Log(inputVector);
}
레이캐스트 그려주기(DrawRay)

레이캐스트가 충돌했는지 아닌지를 알기 위해서 선을 그려주는 방법으로
다음 함수를 사용해서 Scene View 안에서 레이를 확인 할 수 있다.

Debug.DrawRay를 사용하기 위해서 시작지점(point 1)과, 방향(postion2) Vector, 그리고 보여줄 ray의 컬러 값이 필요하다
Debug.DrawRay(시작지점(point 1), 방향(postion2) Vector, ray의 컬러 값);
(예시)
   Debug.DrawRay(new Vector3(transform.position.x,transform.position.y+2, transform.position.z),
   new Vector3(0,0,100), UnityEngine.Color.red);

